Leg Installs
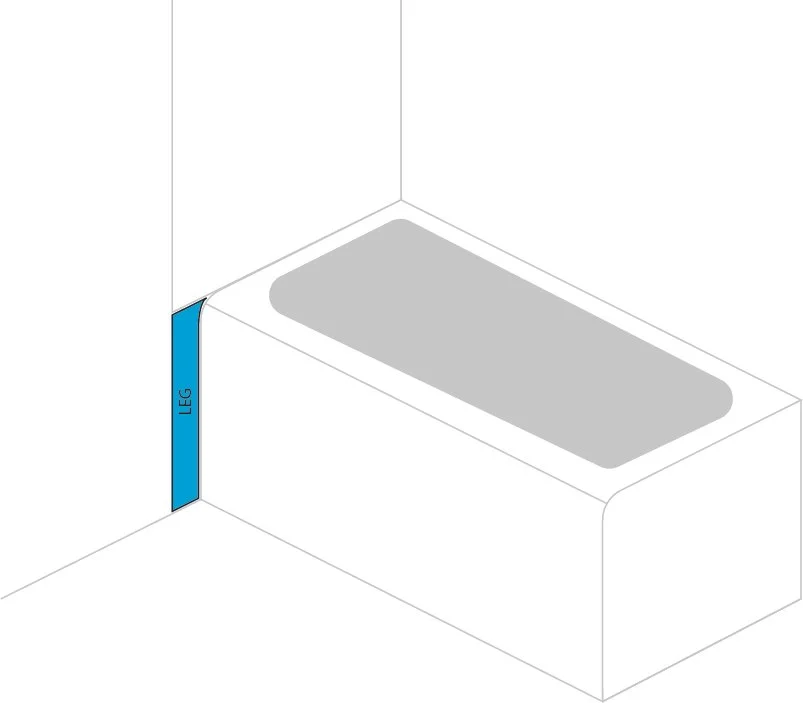
What is a leg?
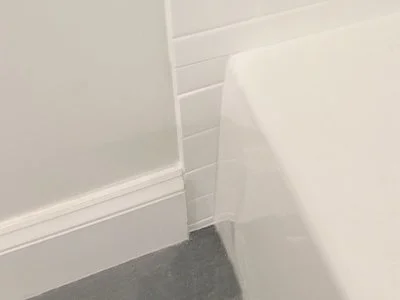
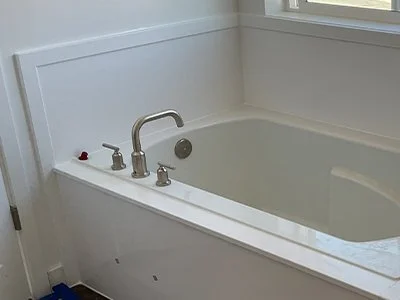
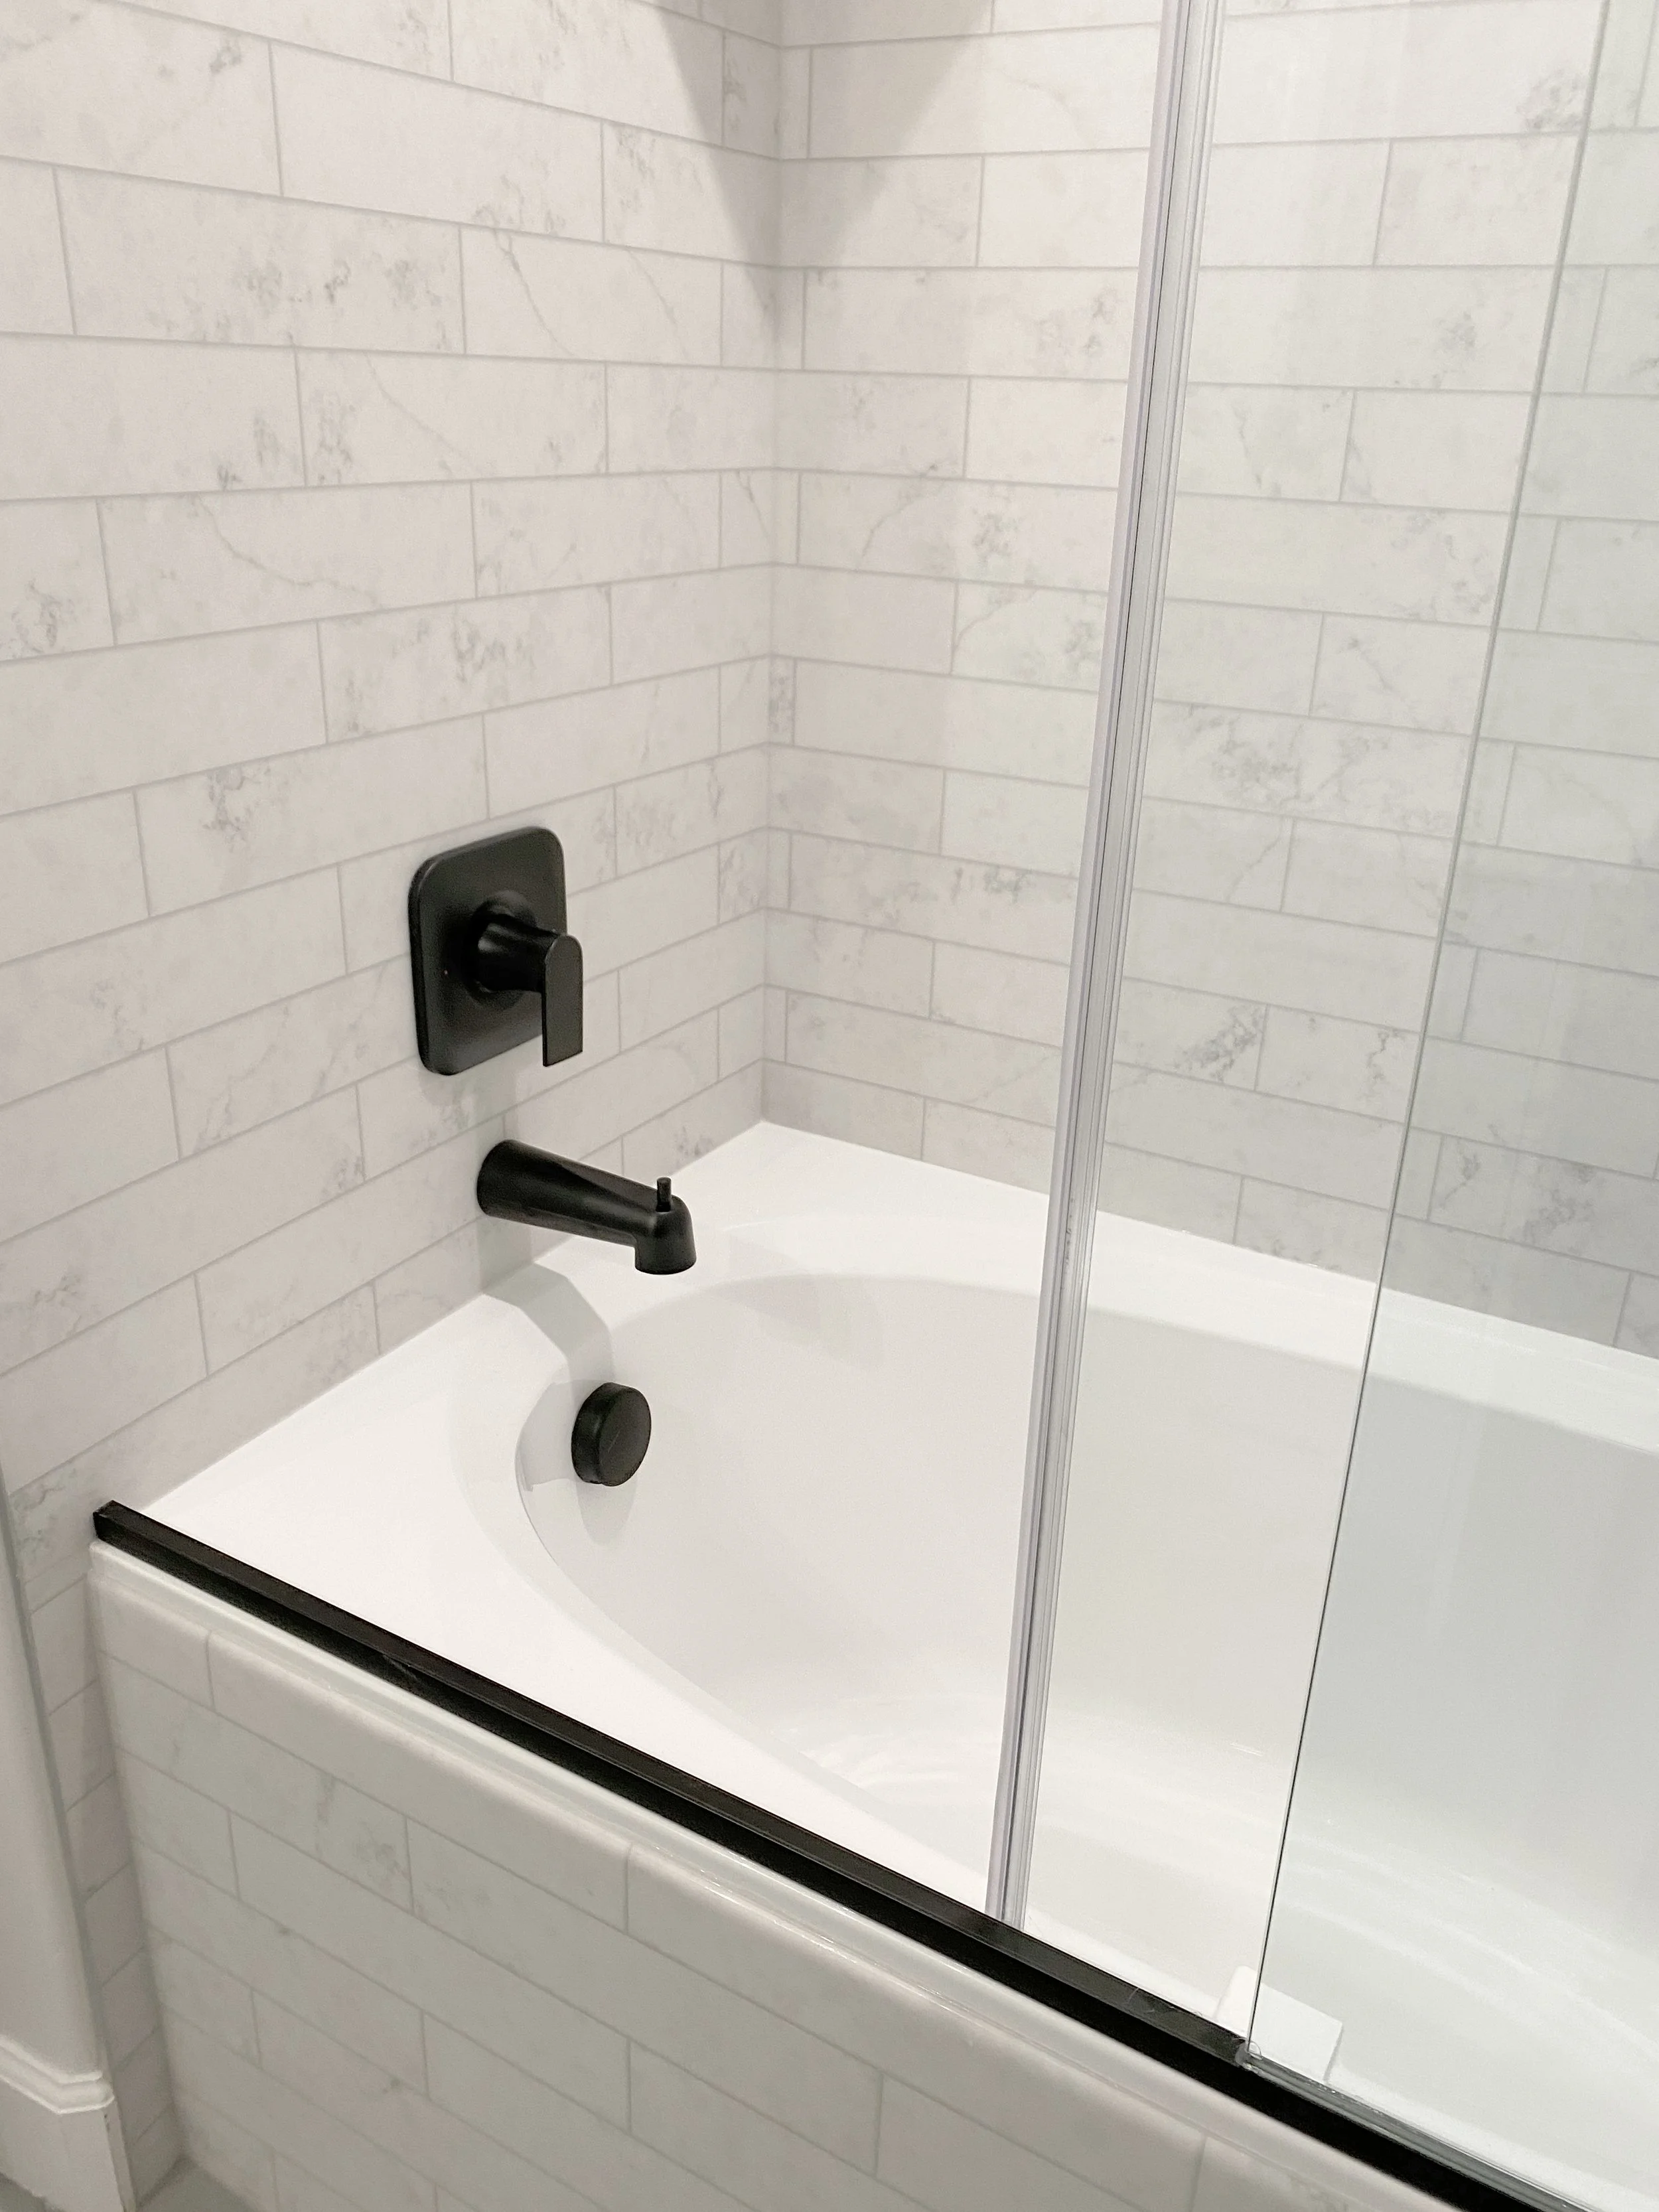
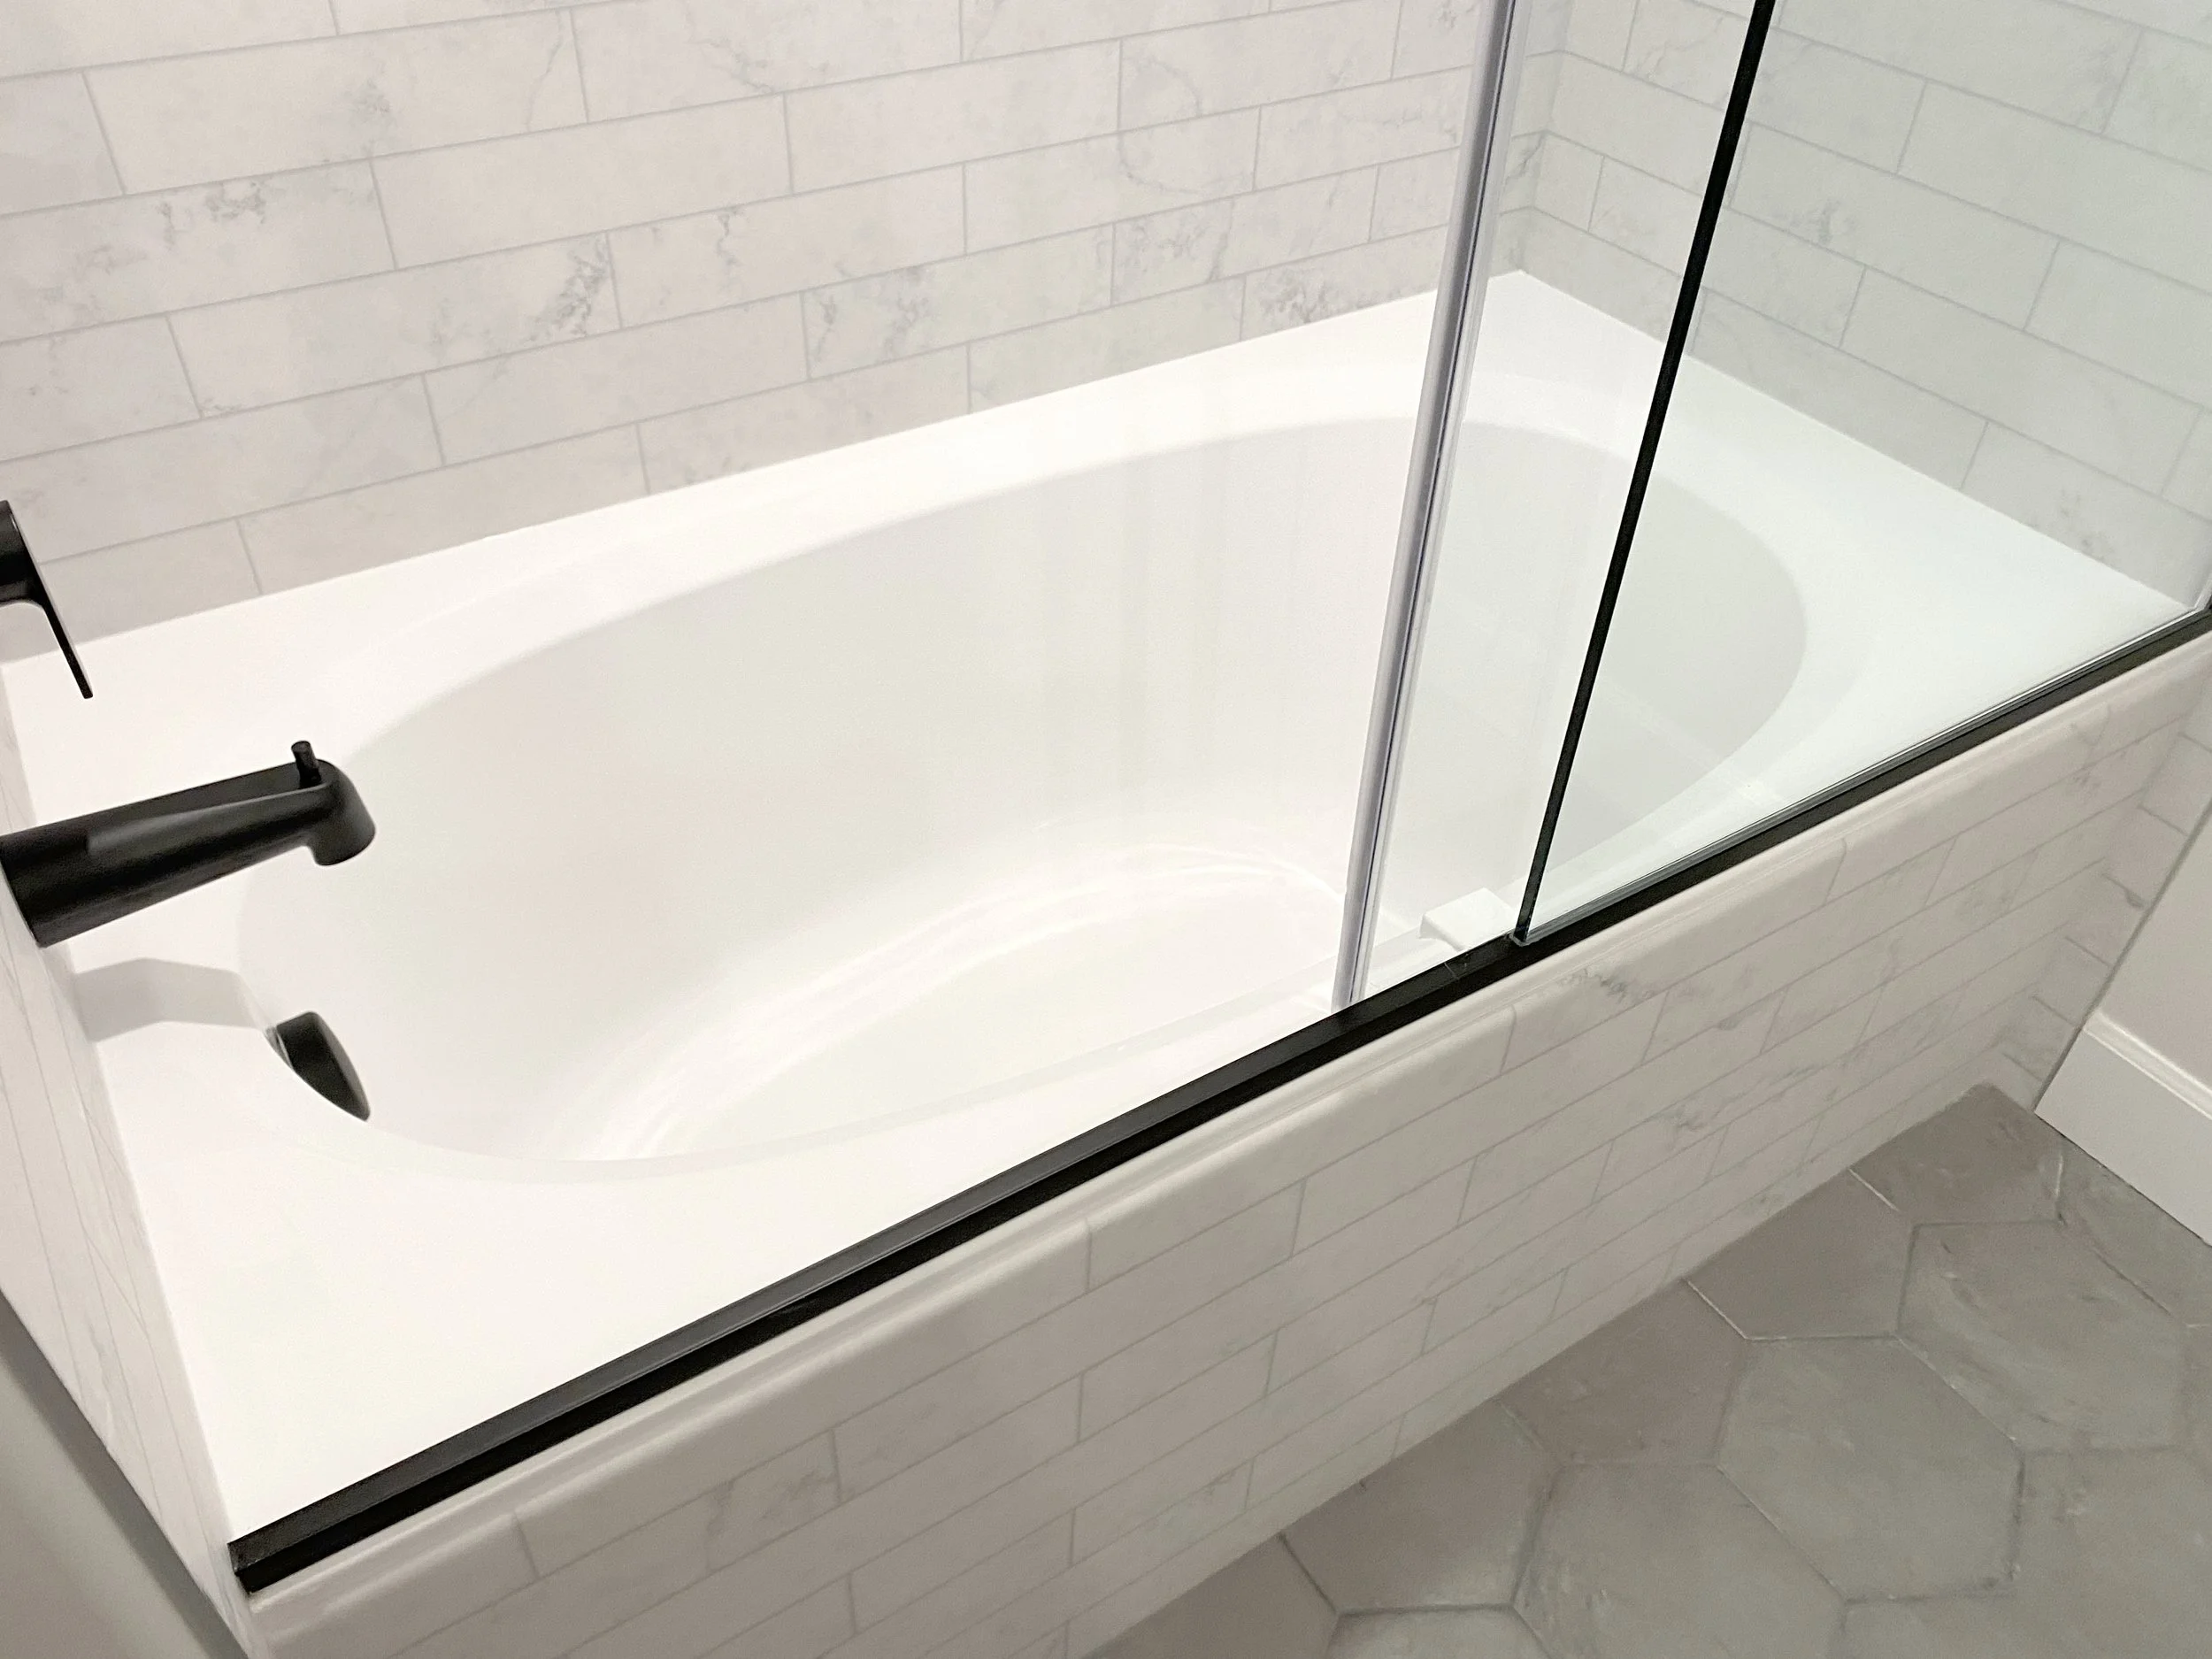
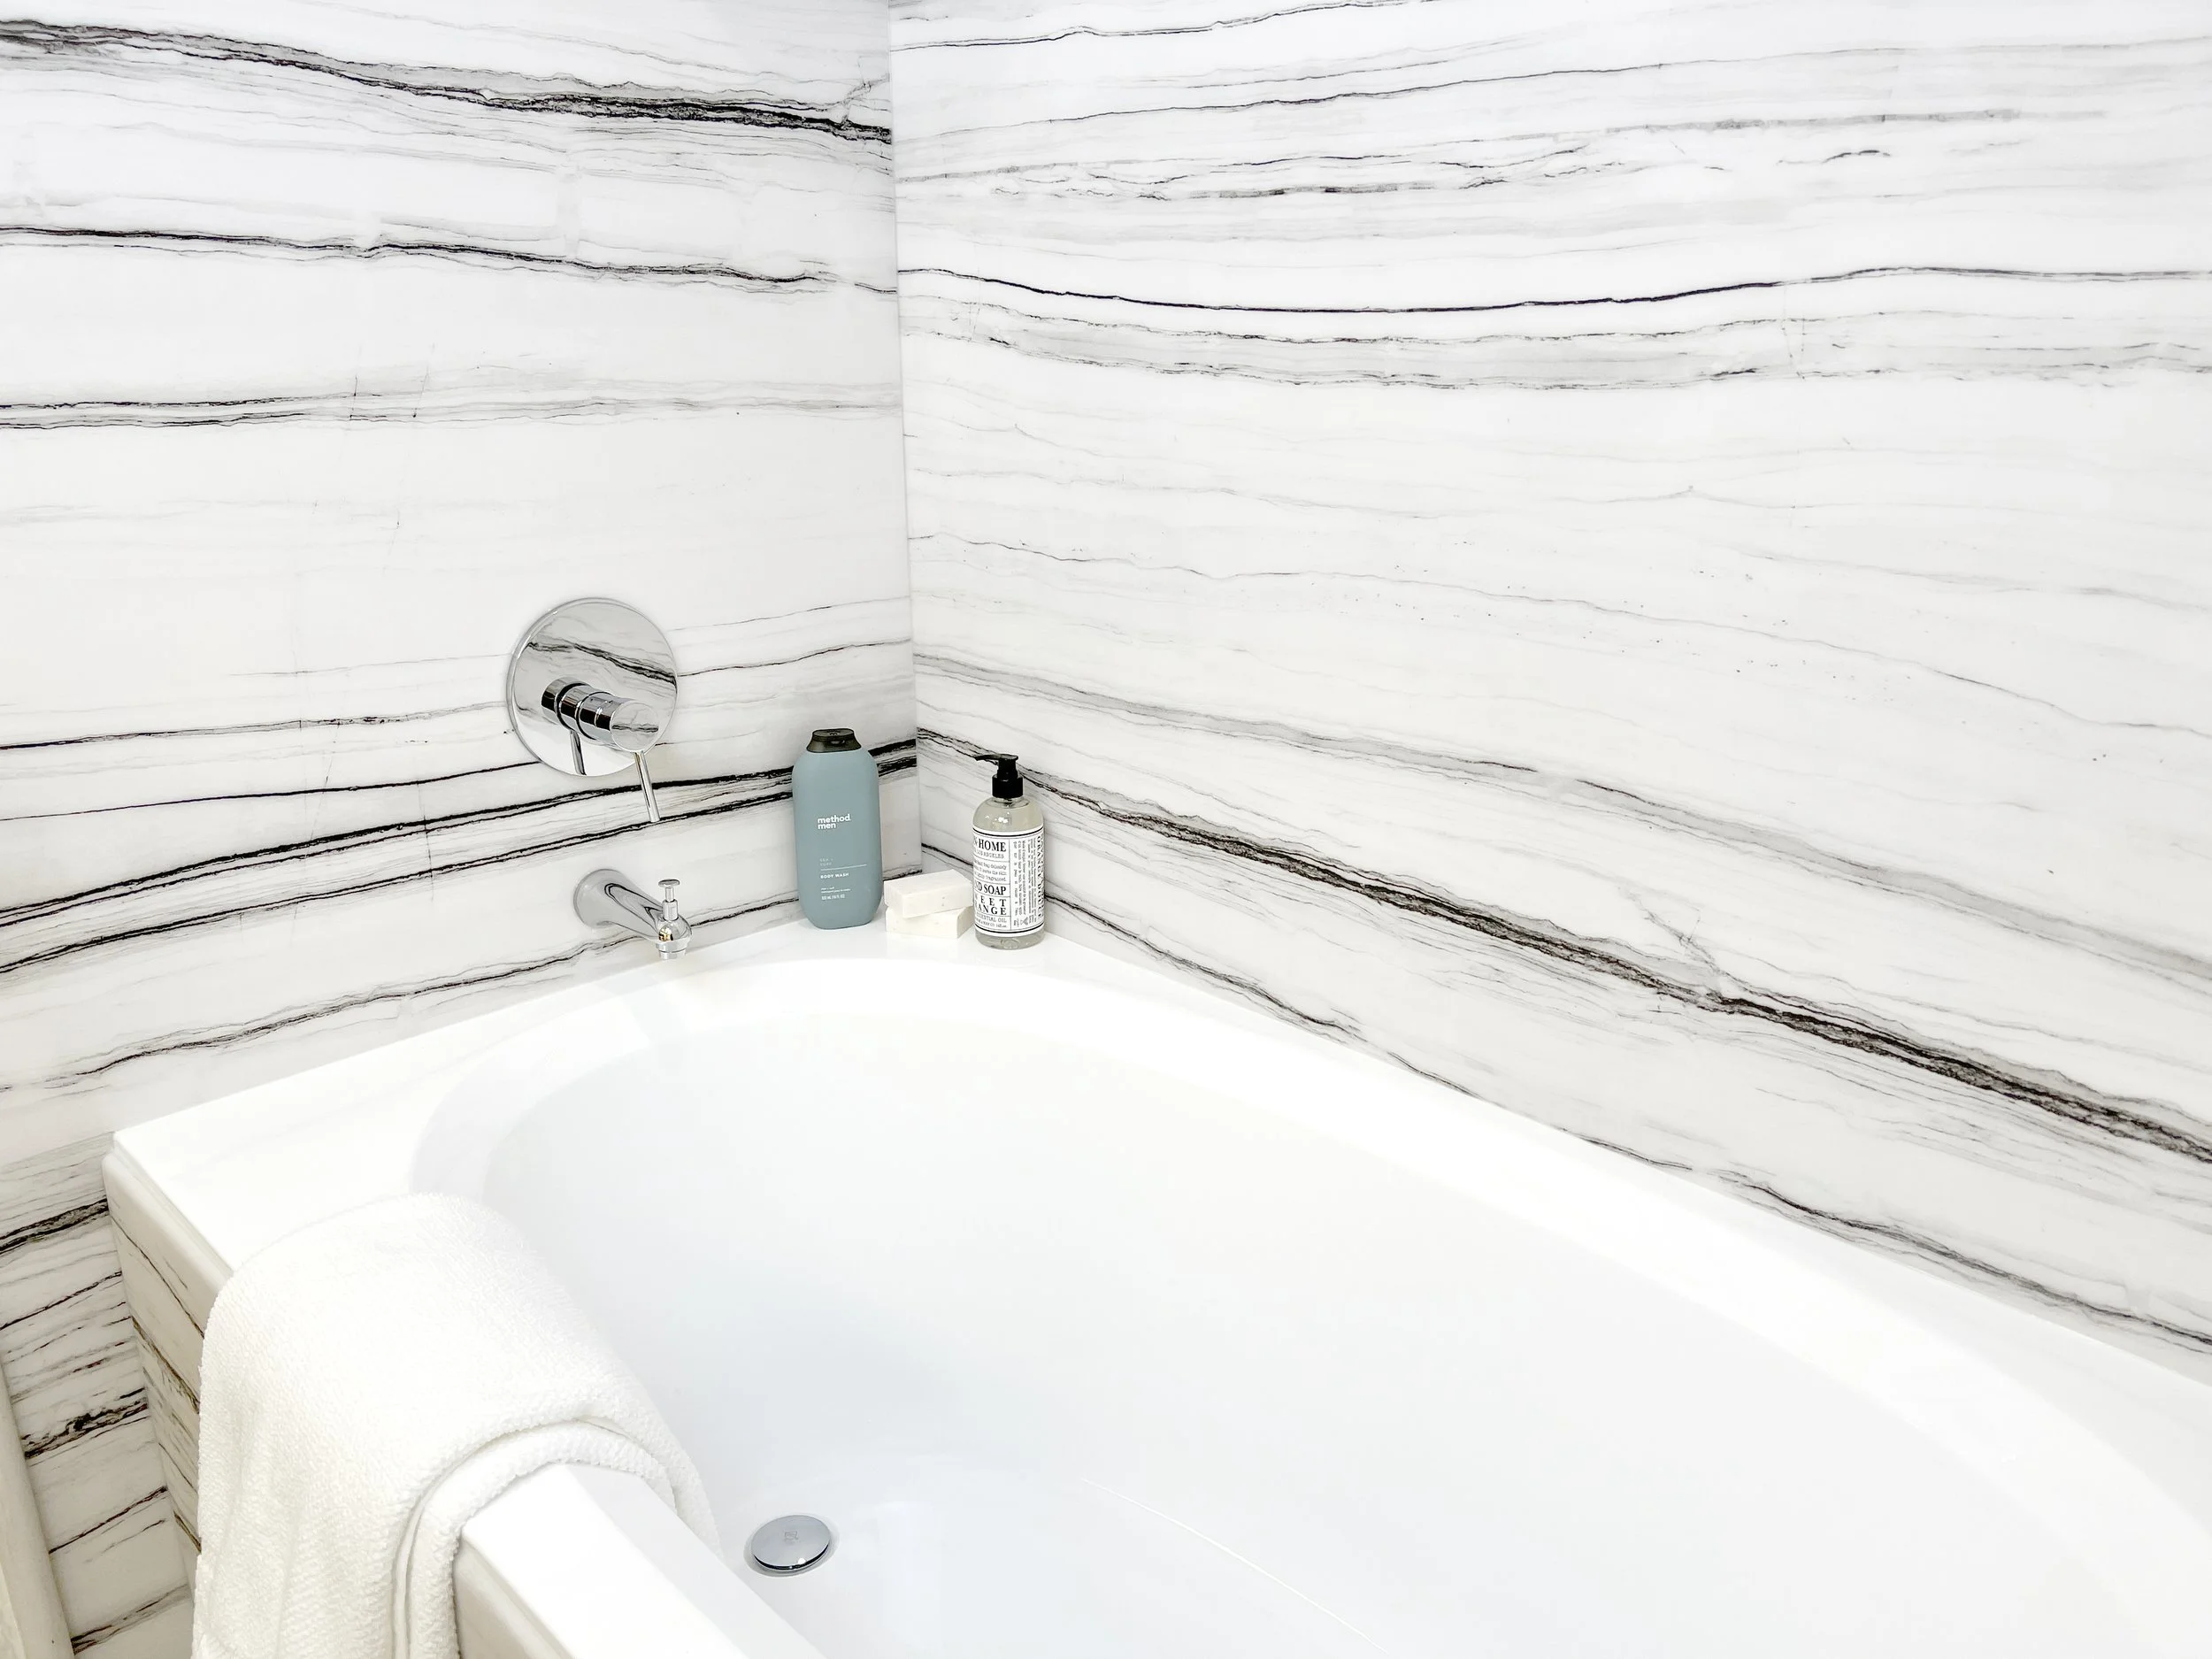
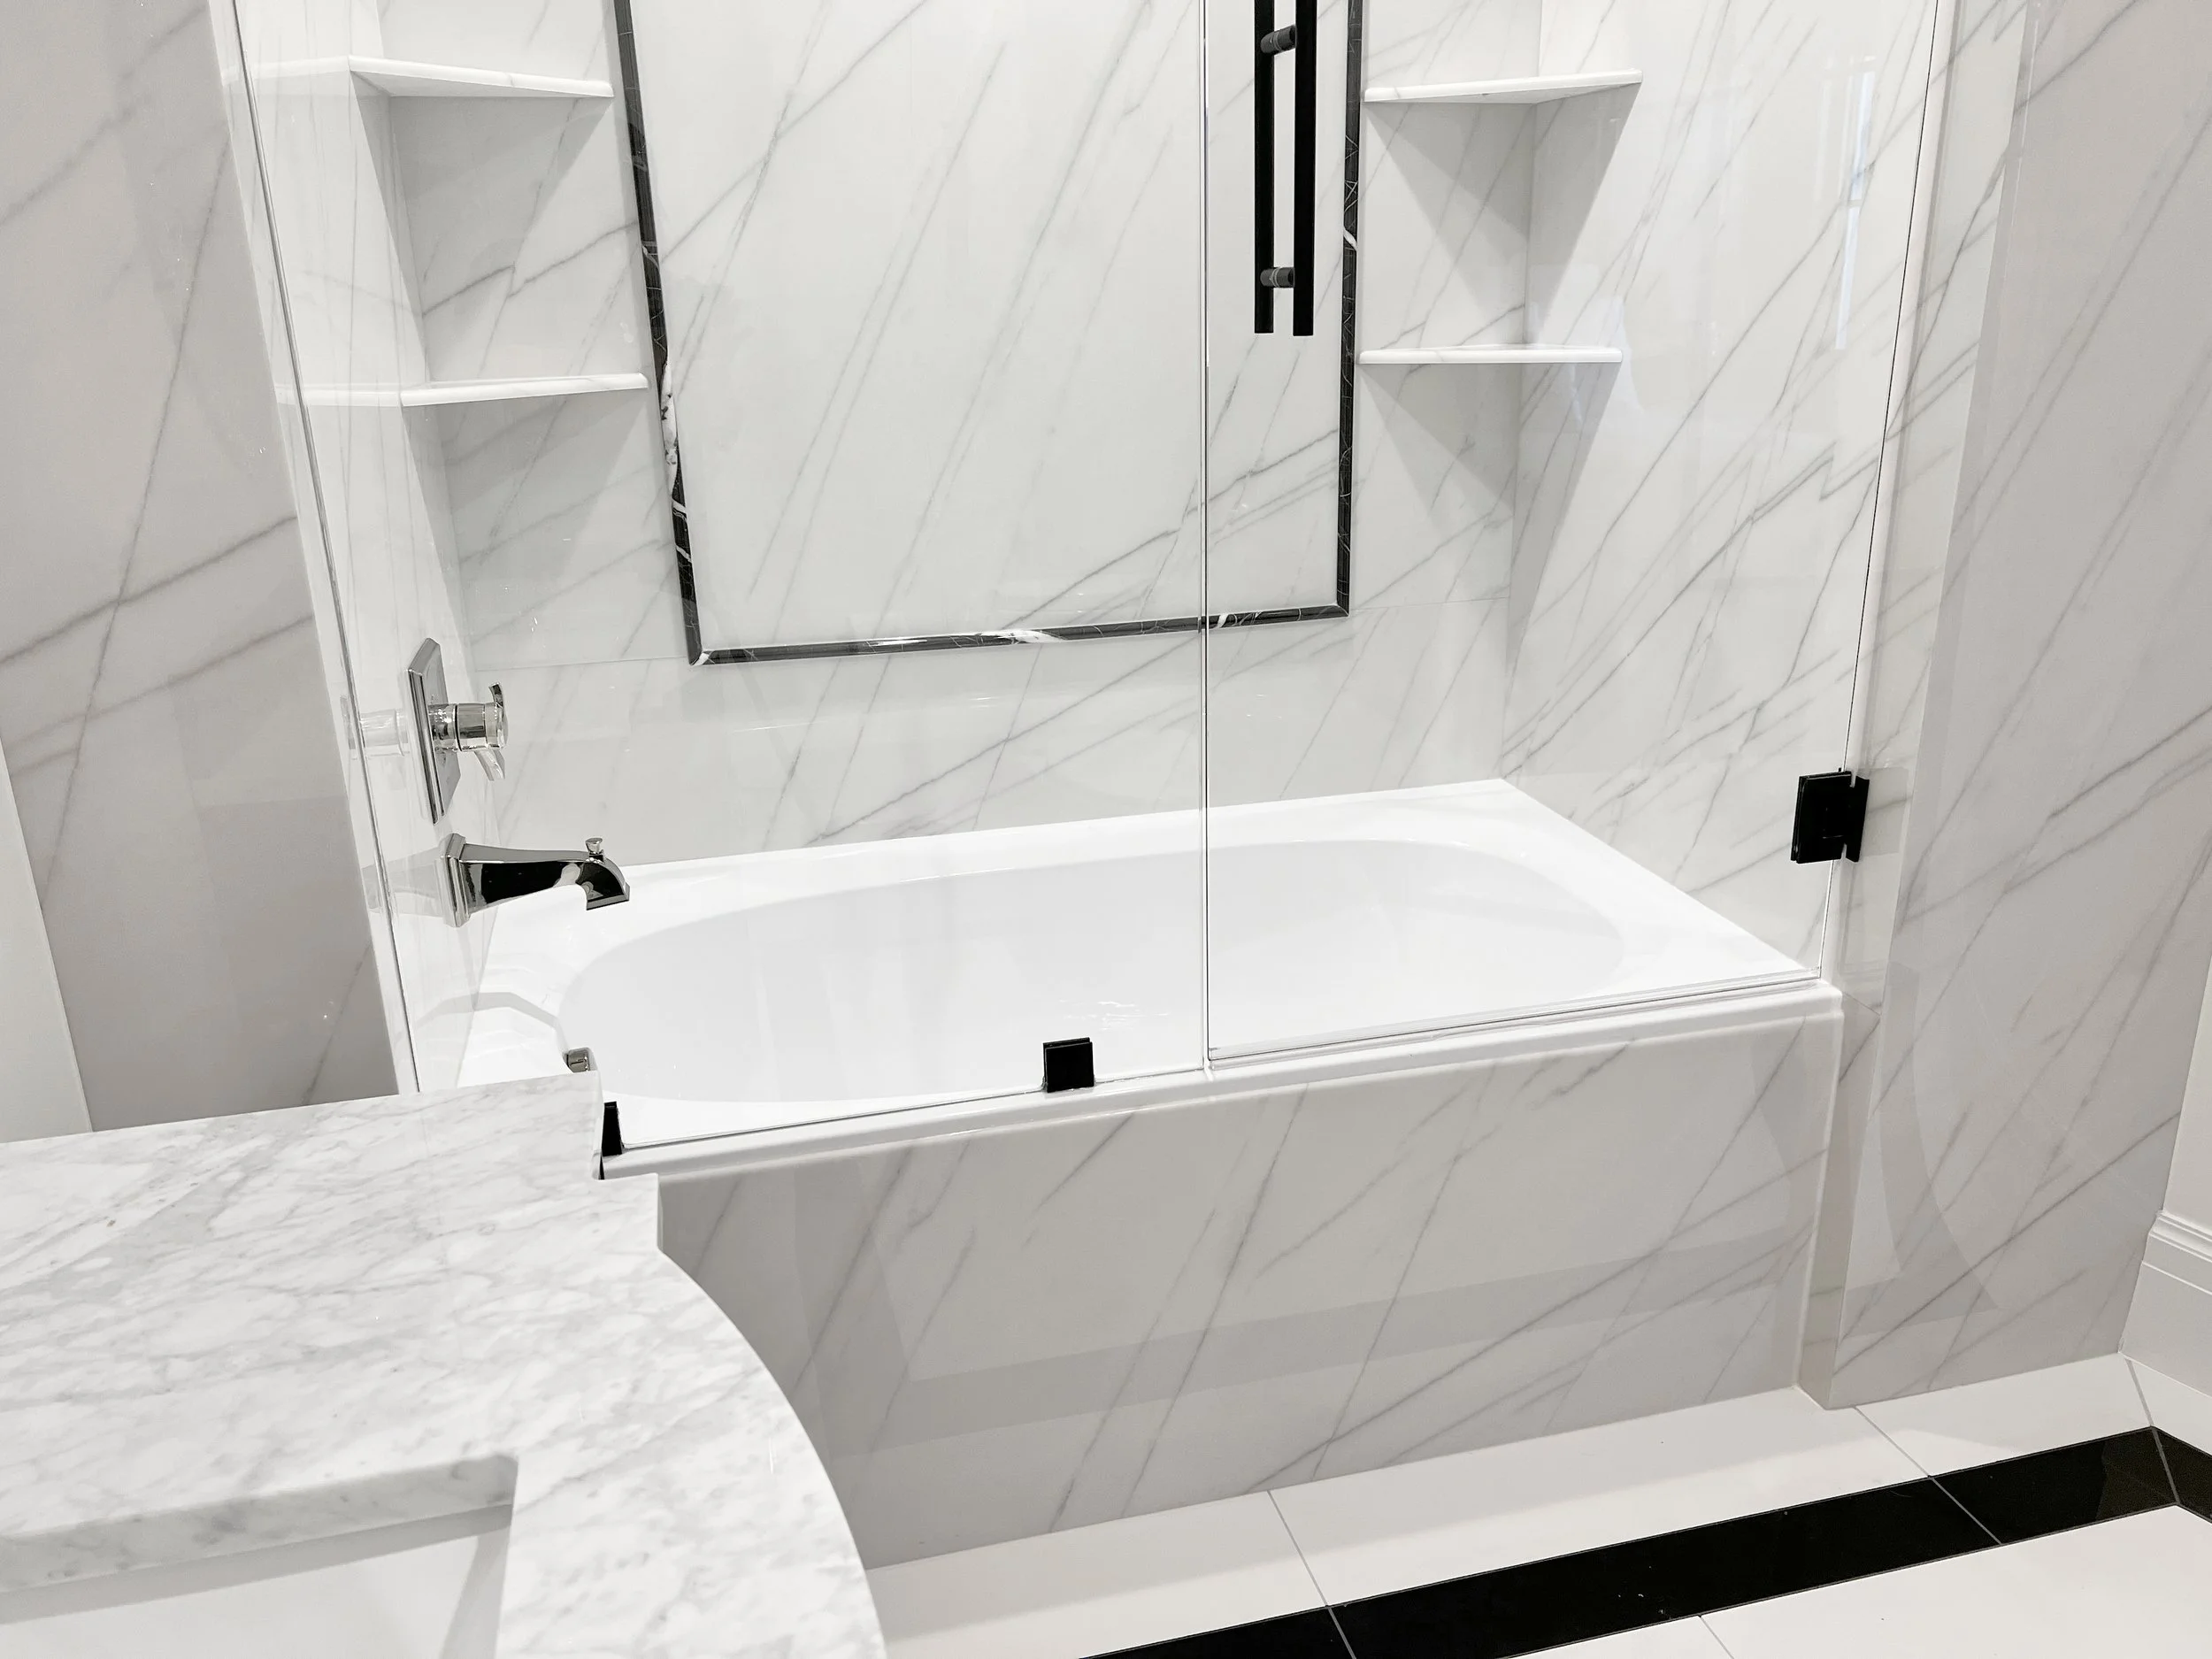
In cultured marble tub surround installations, a leg refers to the vertical panel or return piece that extends from the end of the tub up to the finished wall surface. Legs are used when the tub does not run wall-to-wall, filling the exposed space between the tub edge and the adjacent wall. They provide a finished, waterproof transition, eliminate exposed drywall, and ensure the surround fully encloses the wet area.
How to Install a Leg
Instructions
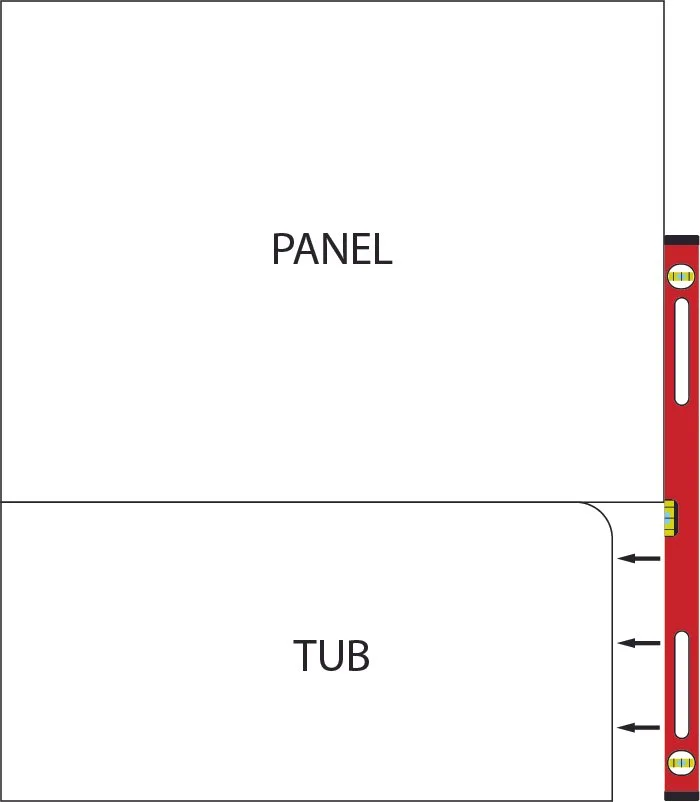
Bring side panels 2” or so past bathtub.
Draw both sides of your legs on scrap paper to note your measurements.
3. Measure your space and account for any bowing or imperfections from the bathtub. Use a straight edge or level to pull your widths for your legs.
4. Properly mark out your measurements on an ordered “leg piece” or spare piece of marble.
5. DOUBLE CHECK YOUR MEASUREMENTS.
6. Using your saw, cut out the leg.
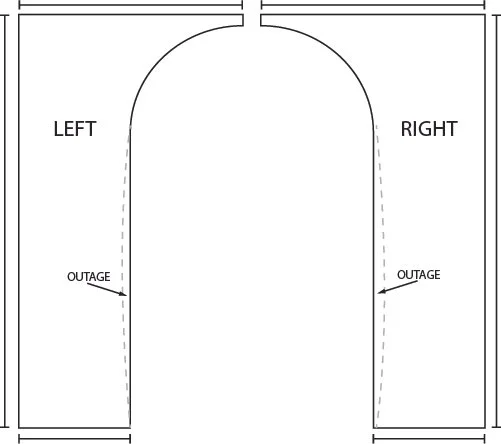
7. For the curved part, use your saw as a grinder to make a smooth curve.
8. Sand any unfinished edge.
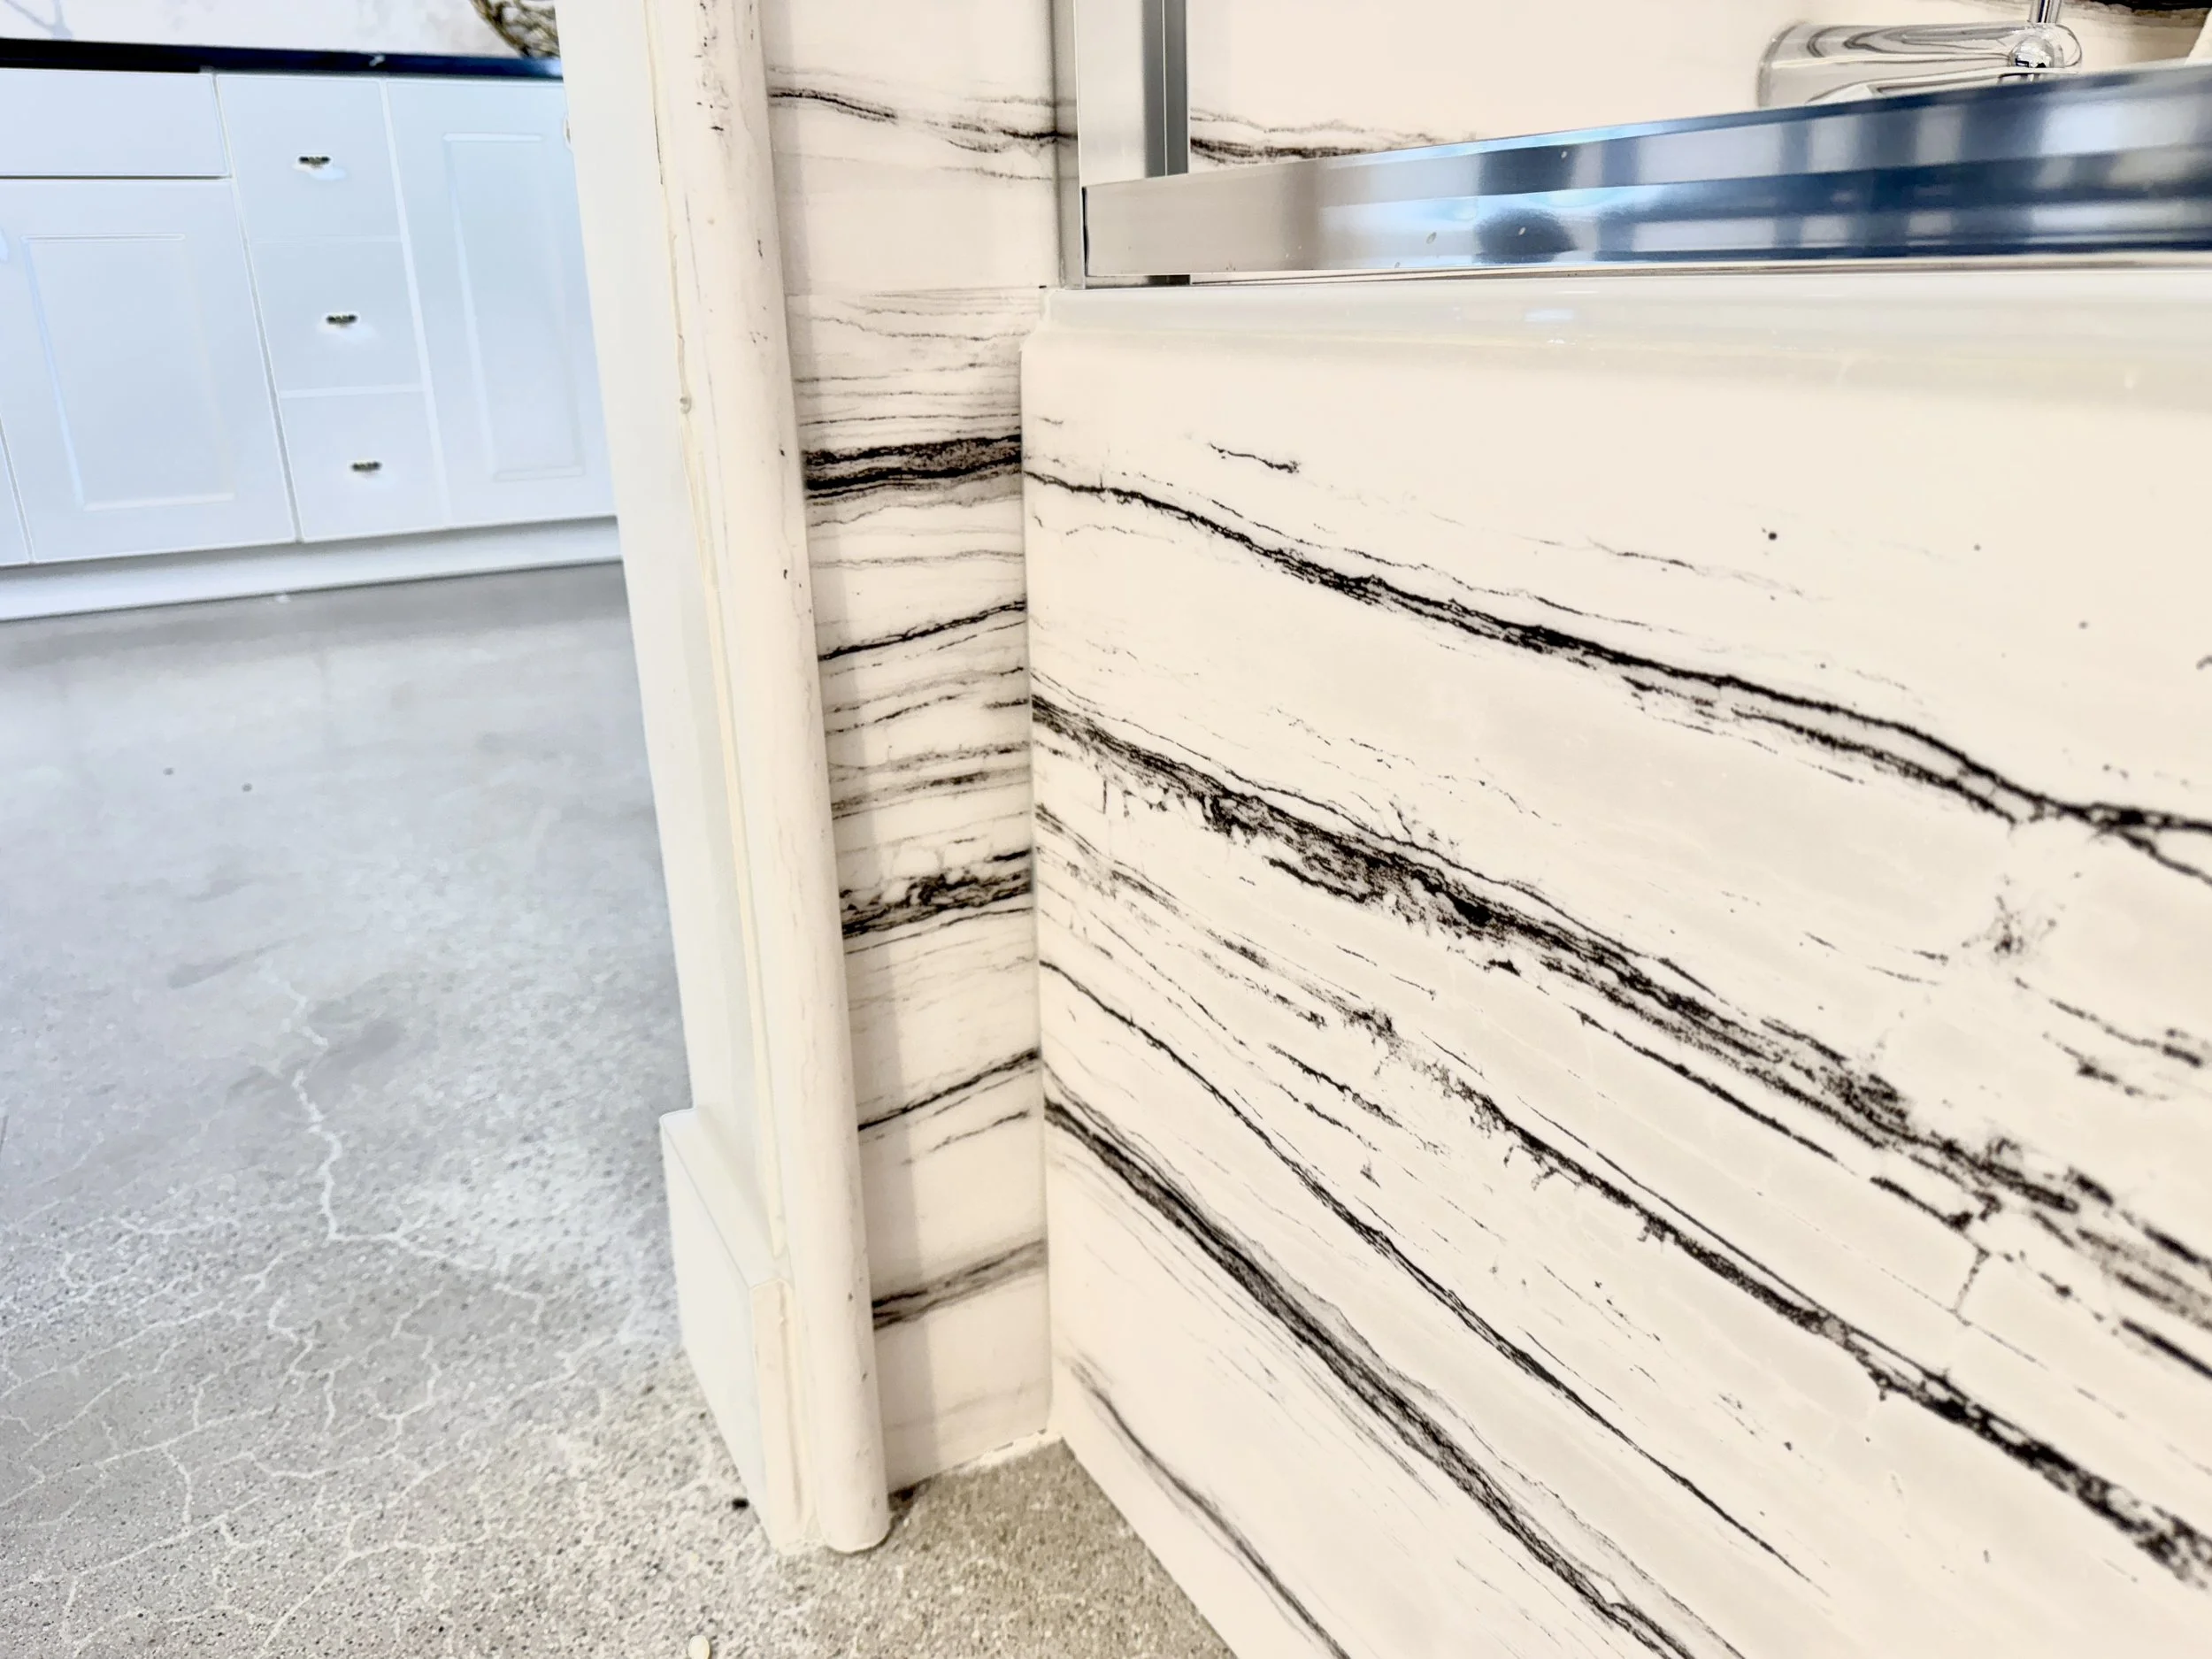
9. Dry fit the leg to check for a tight and clean line against the tub.
10. Install with silicone AND hot glue.
11. Caulk all seams.
NOTE: If the fit around the tub is NOT clean, DO NOT install and fill gap with silicone. Recut the leg until the fit looks good.
Leg Tips and Tricks
When installing a leg and skirt, install the skirt over the leg for cleaner edges.
When Installing Subway, Danville, or some Tyvarian Water Jet Patterns, try to make the pattern align between the edge of the panel an the top of the leg. Try to keep the tile spacing consistent.
DO NOT install a leg on top of Wood baseboard. Use your multitool and cut the baseboard so that the leg goes all the way down to the ground.